Fantasy

Thursday 28 February 2019

Progress Report 59.19.M3

Fair bit done but still plenty to do.

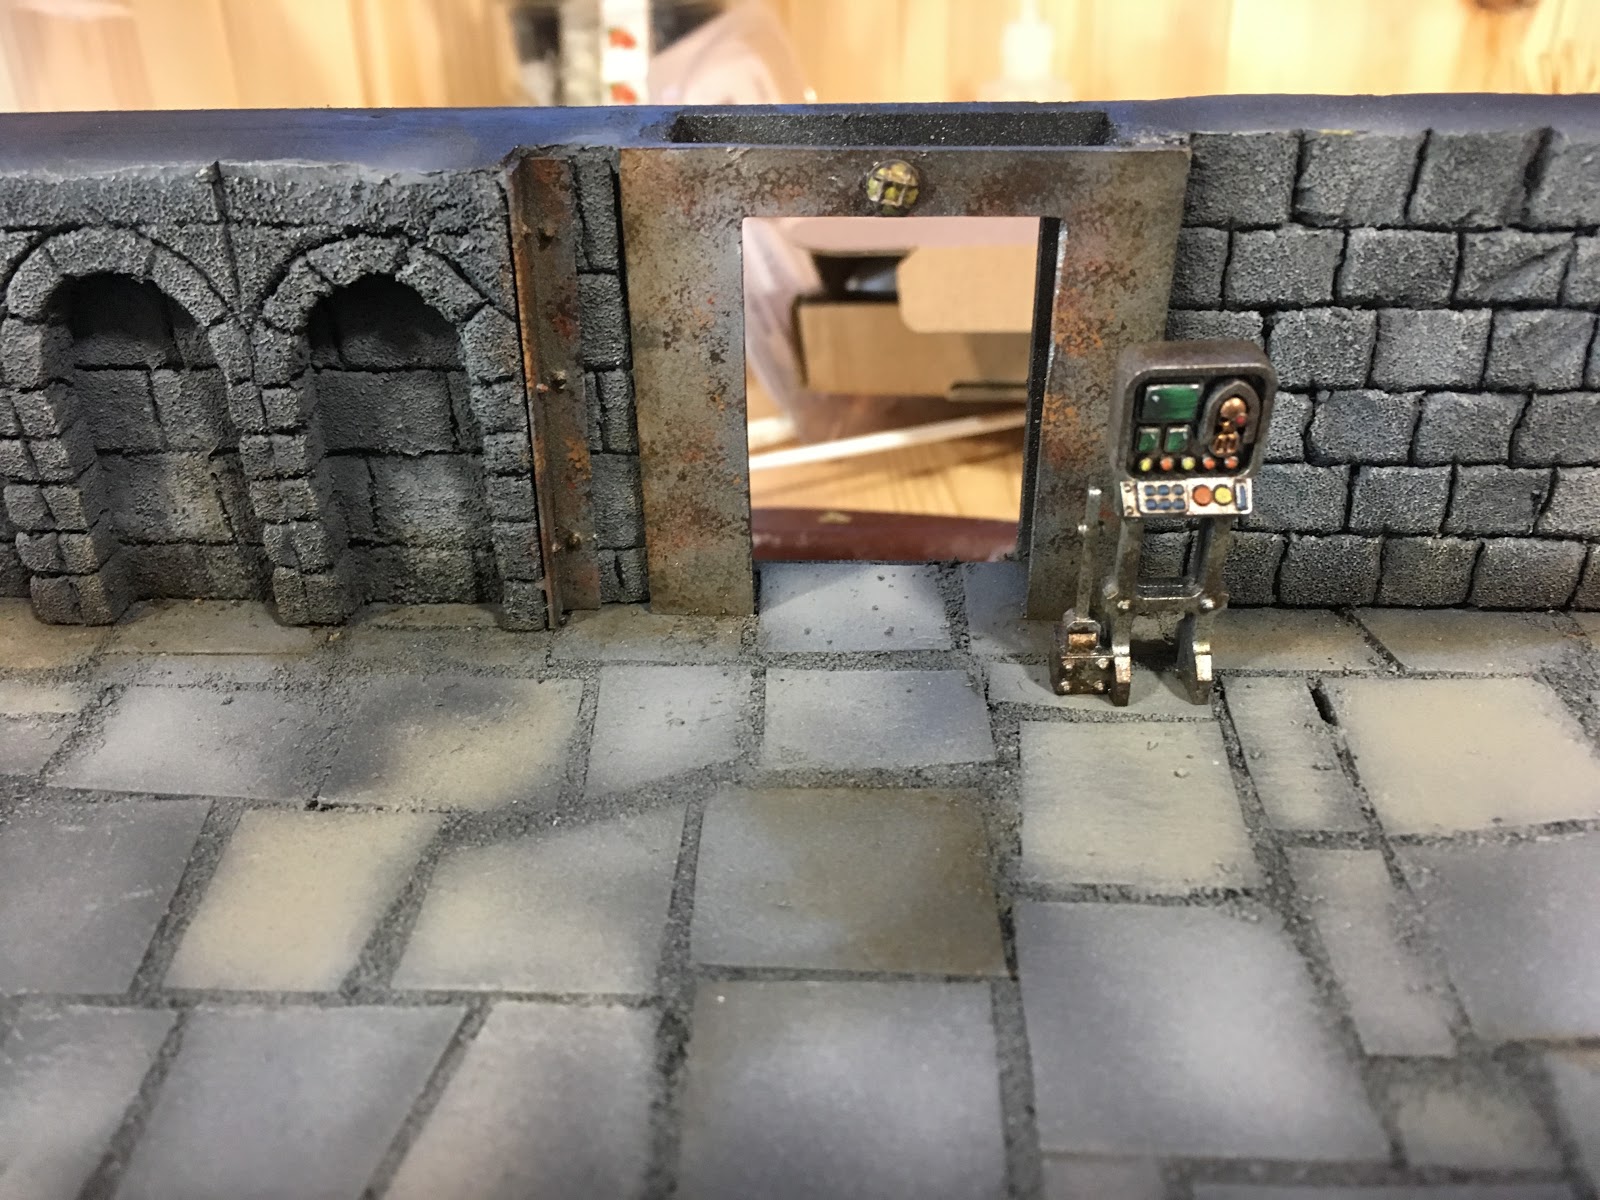
First up; airbrushed the door hatches on the board Tamiya Flat Aluminium, the walls Tamiya Flat White and floors my concrete base mix of Vallejo Concrete, Light Green Grey and Light Grey.


Still more to be done to the base colours before I can start to add details. Also airbrushed the Green Grey roughly onto the walls to give a bit of age.

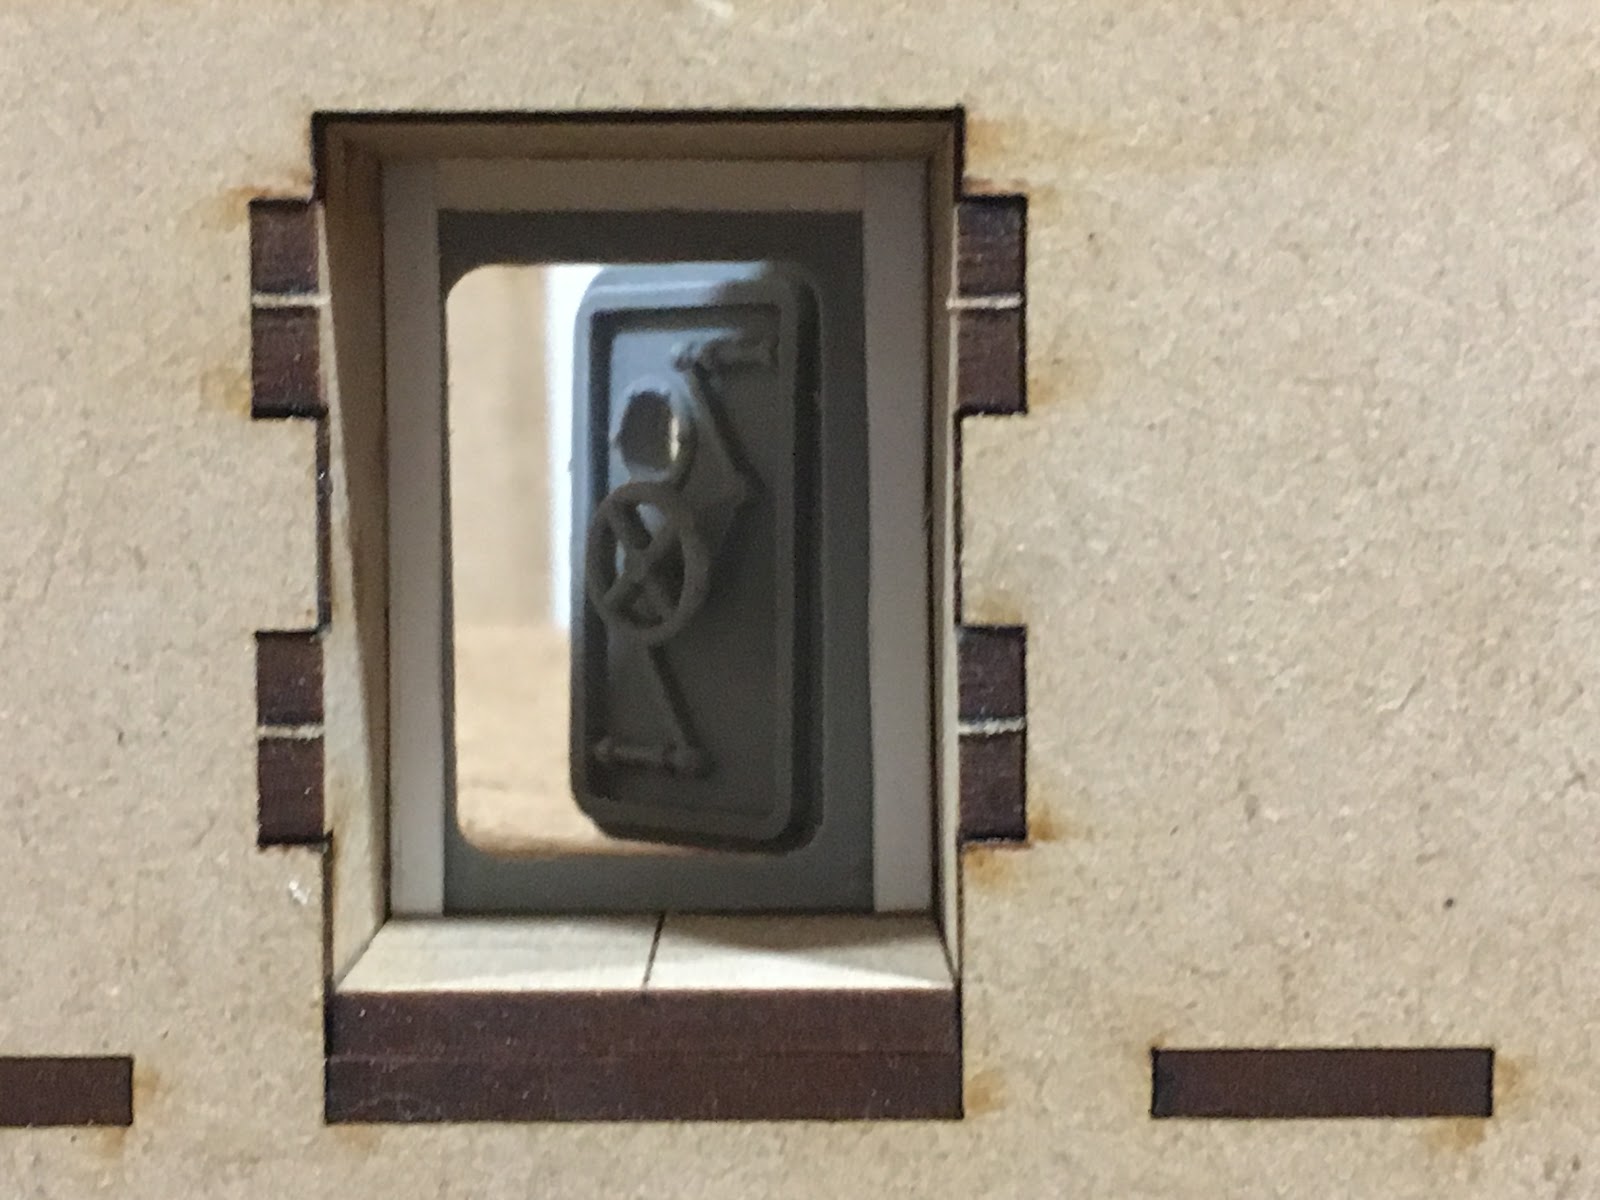
The lights, power units, and doors have also been airbrushed with Flat Aluminium.


All the wall units I decided to airbrush in a base colour of Tamiya Flat Yellow.


So these all need to be weathered and have details picked out.

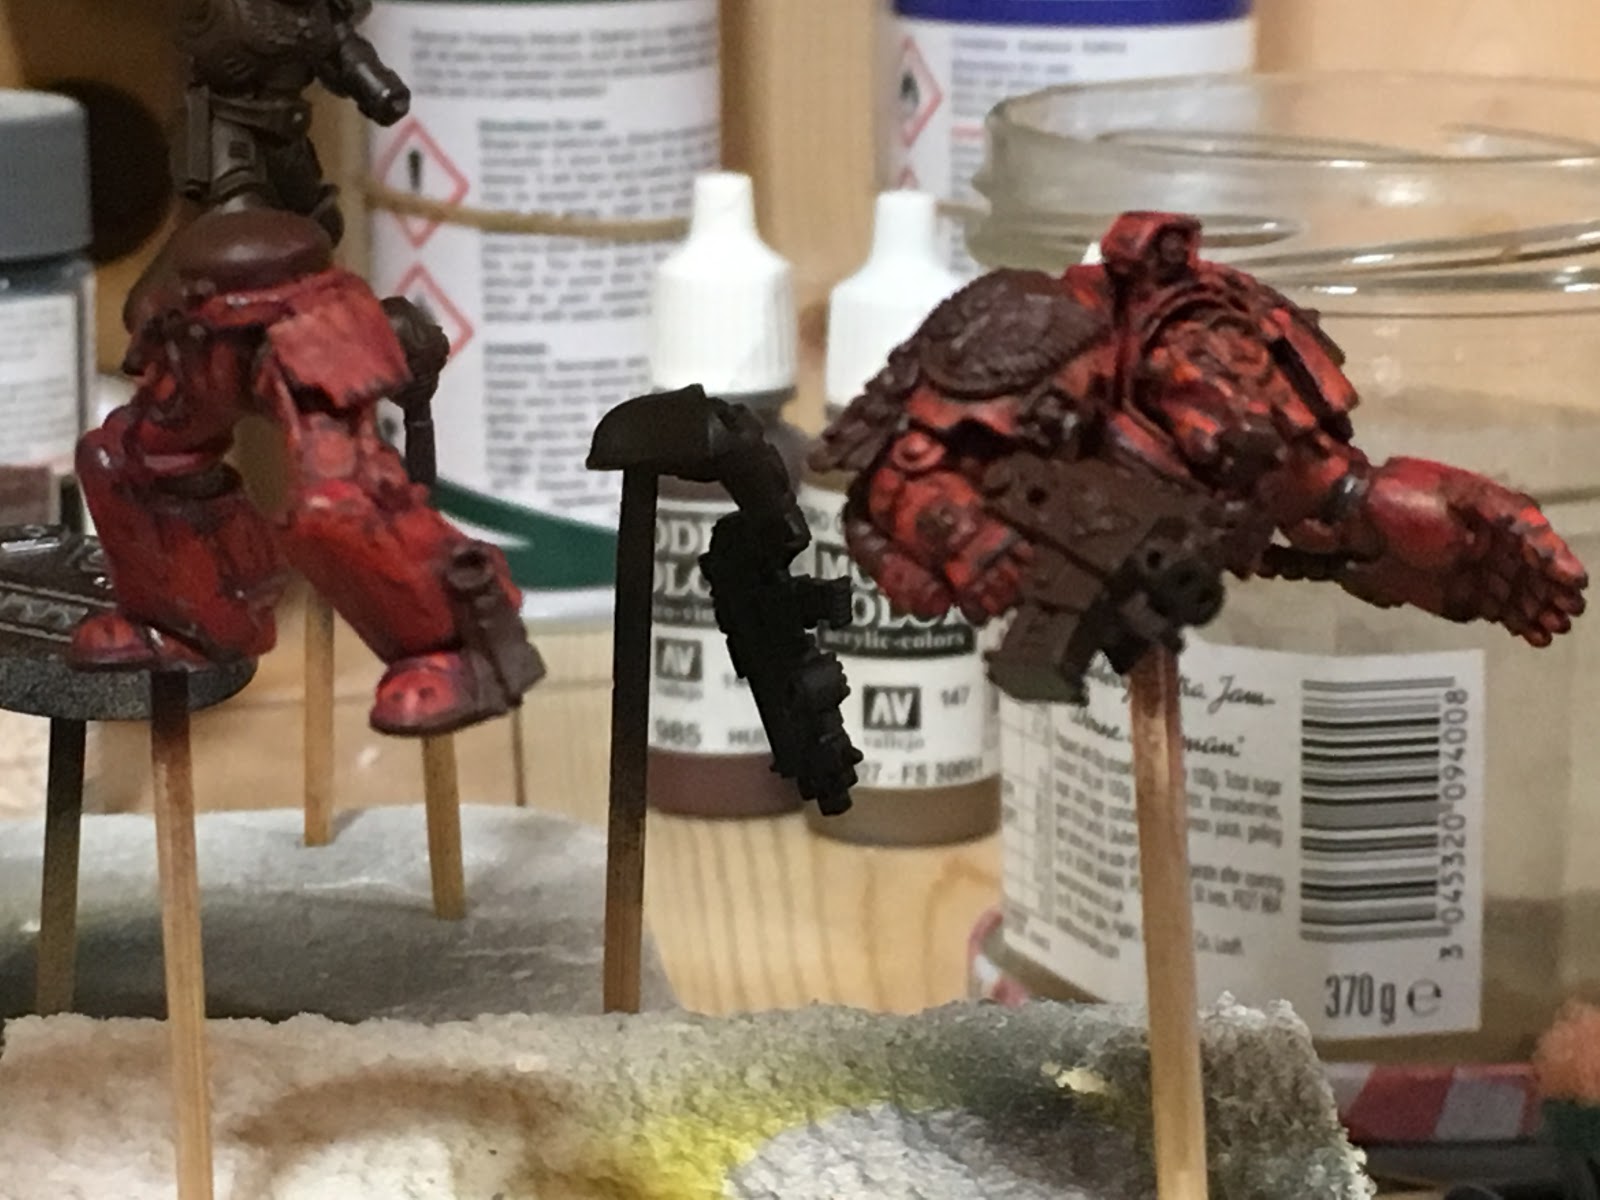
Also decided to be  a little unorthodox with the next Blood Angel Primaris Marine...


Heresy!!!! A white stripe on the helmet and right shoulder pad. For this I airbrushed Vallejo Aged White onto the area I wanted to change. Masked it off with Tamiya 2mm and 3mm tape respectively and then airbrushed with Hull Red again.

I intend to go back to the Rogue Trader days before Codex's ruled and your Marines could be painted how you liked with personal heraldry etc. Not saying that isn't happening still now but want to personalise my Blood Angels to make them mine not just another collection of red clad space vampires following the law laid down in GW publications. More like this...


This was taken from a little A5 pamphlet called if a remember correctly 'How to paint Space Marines'. Still have my copy somewhere. It had, beside the illustrated above, Ultramarines, Salamanders, Space Wolves and I think Dark Angels. 

Realistically* Blood Angel armour should have lots of embellishment anyway. Like this...

Artist: Adrian Smith


But unless you are good with Green Stuff and can sculpt the designs onto the armour (which I'm not),  different colour designs or personal trophies are the way to go! Forge World do a few nice Horus Heresy era Blood Angels in over wrought armour but not enough. 

The Emperor Protects.

* Realistically in a fantasy universe! If you read the background and literature concerning the Blood Angels is what I am referring to. 


Tuesday 26 February 2019

Progress Report 57.19.M3

Second module for the Underhive has been sprayed black with undercoat.

Decided to add some supports cut from 1mm plasticard on the back of the doors. I hope this will aid in closing the doors since has mentioned before the hatch frame was slightly smaller than the door way cut into the MDF so it felt unstable when pushing the model door closed.


Cleaned up and undercoated some of the pieces I intend to add to the interior of this module.


The fan is from Zinge Industries. The junction boxes and aircon unit from Crooked Dice.


Lights from Zinge Industries again.


Power points from Antenocitis Workshop.

The Emperor Protects

Saturday 23 February 2019

Progress Report 54.19.M3

Started to add features to the second module of the Underhive..


Added cork tile to the floor which I have cut into to represent damaged and cracked concrete. The doors are from Zinge Industries. As can be seen they can be opened and closed and even come with a small Perspex  insert for the porthole! They are available individually but it's cheaper to buy the set of two. I had to put on a 1mm thick plasticard surround to hide the slight gap between the bulkhead frame and the doorway opening in the MDF wall.  


A close up of the bulkhead door just to give a better idea of what they look like.

The Emperor Protects.


Wednesday 20 February 2019

Progress Report 51.19.M3

Blood Angels Terminator....finished.


I did decide to add weathering around the feet and lower legs. Used AK Enamel Earth Effects first then MIG Ammo Rubble and Concrete powders. The figure was then varnished with Vallejo Gloss then Matt. Once dry further weathering powders added MIG Ammo Dark Earth to the mix. 


Though it may be  awhile before he gets any compatriots in Tactical Dreadnought armour. 

Also weathered the base for the next Escher ganger and Primaris Marine.


The Escher base gets an intial wash of Nuln Oil, the Marine base a wash of Seraphim Sepia. Then use Agrax Earthshade and thinned Vallejo Smoke. Basically go back and forth with these colours, mixing them together, dragging then down to make streaks etc.. The Vallejo Smoke gives a nice oily feel without having to use more specific products. A dry cotton bud can be used to remove any unwanted stains, before the wash dries or to thin streaks. If it does dry then a cotton bud dipped in Tamiya Thinner will remove acrylic paint. Just make sure the tip of the bud is damp not soaking in the fluid.

The Emperor Protects.   


Tuesday 19 February 2019

Progress Report 50.19.M3

Terminator almost completed!


Just got to decide if I will use weathering powders and enamels as I have on other Marines to complete. At present I have used Nuln Oil and VMC Smoke to add a bit of grime to the figure.


Also completed the base today. So once that is painted that will be the decider on adding any further weathering to the Terminator.


Second base board for the Underhive is built. Again from the Sally 4th Terra Formers range. This is the bunker. The floor is positioned to sit half way up the outer walls. Noticeable from the MDF plugs running across the centre of the nearest wall!

The Emperor Protects 


Saturday 16 February 2019

Progress Report 47.19.M3

Little done to the Terminator. Added metal chipping/scratched with VMC Oily Steel. Painted the bare metal areas with GW Leadbelcher, Nuln Oil wash, then ahighlight of Leadblelcher and Ironbreaker.


For the areas which will be painted in gold and bronze I follow the suggestions from the GW Painting App. Bronze so far is Balthasar Gold followed by a wash Agrax Earthshade. The gold is Retributor Armour followed by a wash Reikland Fleshshade.


Not too much more to do!

The Emperor Protects


Tuesday 12 February 2019

Progress Report 43.19.M3

Little bit more done on the Blood Angels Terminator.


Added the chipping with VPA Dark Rust. This as been done on lower and upper parts, metal chipping to be added next.

Also completed the pieces to go on the first underhive board


Lights had the lens painted in VMC Flat Yellow. Applied this directly over the metal since yellow usually requires at least two coats this allowed the darker chipping to show through hopefully achieving an aged dirty appearance to the lens. For good measure added a light coat of GW Seraphim Sepia.


The door controls have been further weathers with VMC Smoke but only on the edges which would touch the floor. Then a thinned wash of GW Seraphim Sepia to tarnish the metal. The screens have been painted VMC German Extra Dark Green, Dark Green, Intermediate Green and Light Green, with a dot of ivory in the corner. The buttons with what any colour I had immediately to hand; so Flat Yellow, Vermillion, Prussian Blue. The skull and vox caster Ghenna Gold than washed Agrax Earthshade. The little dial face was painted VMC Ivory the pointer Flat Red. The grey on the handles/wires VMC Deep Sea Grey.  

The pipes a thin wash of VPA Light Rust which I blended in places and stippled. Then Seraphim Sepia over the whole of the metal in a thin coat to tarnish the metal further.


Every glued thing in place. The board for the moment is finished. Though may add a couple more little pieces and have to decide what I going to use for the doors.


The Emperor Protects.   


Sunday 10 February 2019

Progress Report 41.19.M3

More work on the Terminator.


Completed the rest of the red armour, May drop the VMC Dark Red step and go from Hull Red to Flat Red. Most the dark red was being covered by the flat red so seems a waste of time. The flat red covers the hull red well enough, which I knew anyway, and I can see no appreciable difference from putting the flat red over the dark red rather than going straight over the hull red.


More work completed on the door control pads, pipes etc for the first underhive board.


Added in one of the Necromunda door control panels this morning, Comes has one piece so nice and easy to clip off the sprue and clean up. All given a black undercoat then VMA Steel, then chipped with VGC Tinny Tin and some further chipped with VMC Gunmetal Grey using a piece of sponge. Then GW Agrax Earthshade applied in a pin wash to certain areas on each piece to start the next weathing process.

The Emperor Protects    

Saturday 9 February 2019

Progress Report 40.19.M3

More progress on the base board,


Used a sponge to add chipping on the metal plates in the following order; MIG Ammo Dark Rust, Vallejo Game Colour (VGC) Tinny Tin, Vallejo Model Colour (VMC) Gunmetal Grey and finally VMC Yellow Rust.


Then used VMC Smoke which was thinned with water to dirty the edges of the metal plates but on three sides only not the top edge. The floor and base of the stone work and on a few of the individual floor stones. Used a cheap flat brush to stipple and blend the thinned smoke to give a grimy fell to the piece.  


Before undercoating the plastic sheet I had added some battle damage by using the engraving tools available for the Dremel. Did this before gluing them in place to make it easier to reach the parts.

The Emperor Protects.   
 

Thursday 7 February 2019

Progress Report 38.19.M3

More done to the first Underhive/Spacehulk board. Firstly sprayed black with Chaos Black Aerosol then with Tamiya Flat Black via airbrush for the blue foam areas.


Then airbrushed the metal areas Vallejo Black Metal followed by Tamiya Flat Aluminium. The stone walls were airbrushed with Tamiya Neutral Grey as were some of the stones. Then Tamiya Medium Grey used on other stones, then Tamiya Dark Grey over sprayed on some of them on and on part of the stone walls.


Then Tamiya Sky Grey airbrushed lightly over floor and parts of walls. Then walls and floor drybrushed with Vallejo Model Colour, Dark Sand, Deck Tan and finally Ivory.


All doorways have been painted metallic. What I'm hoping to achieve is the description given of the Underhive. A mish mash of building types which have collapsed in on each other. I also believe it will work for Space Hulk inspired games or close quarter 40K battles. I intend for each tile to be different in make up.

The Emperor Protects.